How to Use Batchify Image Converter Software & Resizer Lite
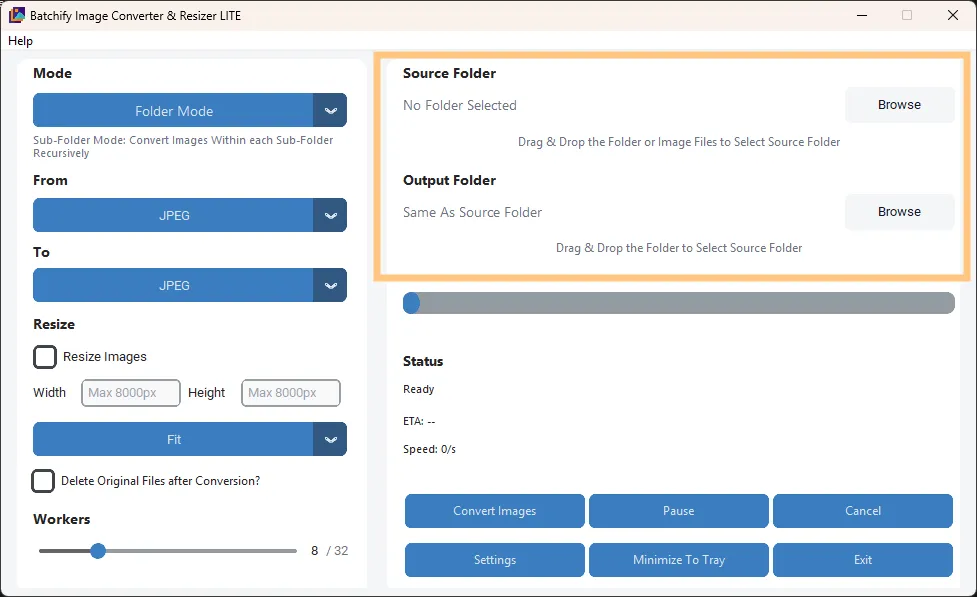
Step 1: Select the Source Folder and Output Folder
You can add images to Batchify in two easy ways:
Drag & Drop a folder directly into the application window
Or click Browse to manually select a folder from your system
Batchify automatically scans the selected source folder for supported image formats.
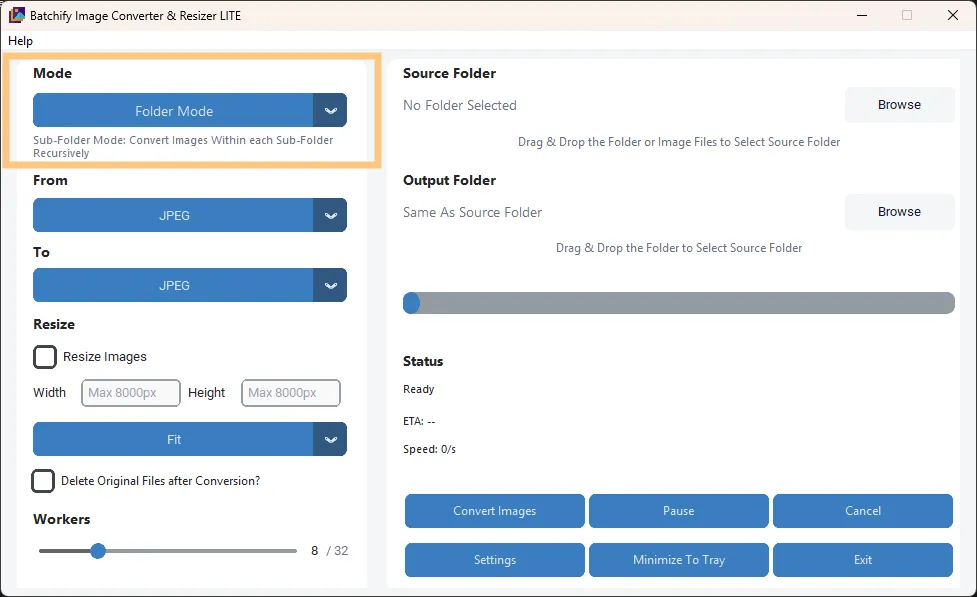
Step 2: Choose Folder or Sub-Folder Mode
Batchify gives you control over how deeply it scans your folders:
Folder Mode - Converts only the images located in the selected folder
Sub-Folder Mode - Recursively scans and converts images inside all sub-folders as well
This is ideal for large image libraries organized by categories or dates.
Step 3: Choose Conversion Format(s)
Select the desired output image format from the supported list.
Convert all images to a single format (e.g., JPG To WEBP)
Choose modern formats like AVIF or HEIC for smaller file sizes
Select lossless formats like PNG or TIFF when quality is critical
Batchify applies the selected format consistently across the batch.

Step 4: Resize
This is an optional and fully customizable feature.
Enable "Resize Images" to activate resizing during conversion
Set your desired Width and Height (up to 8000px)
Choose a resizing mode:
Fit: Maintains aspect ratio and fits within the specified dimensions (recommended for most cases)
Fill: Fills the exact dimensions, cropping excess areas if necessary
Stretch: Forces the image into the exact dimensions (may distort aspect ratio)
This feature allows you to standardize image dimensions, optimize file size, and prepare images for web, print, or platform-specific requirements — all during batch conversion.

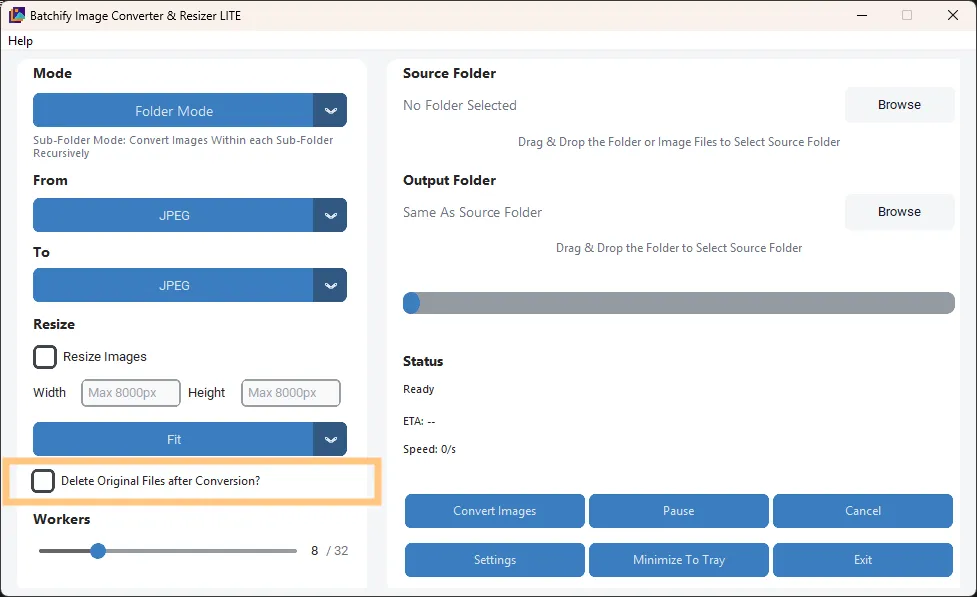
Step 5: Optional – Enable "Delete Originals"
This is an optional and user-controlled feature.
When enabled, original files are moved to the Recycle Bin
Originals are not permanently deleted
Allows easy recovery if needed
This option helps free up disk space after successful conversion while maintaining safety.
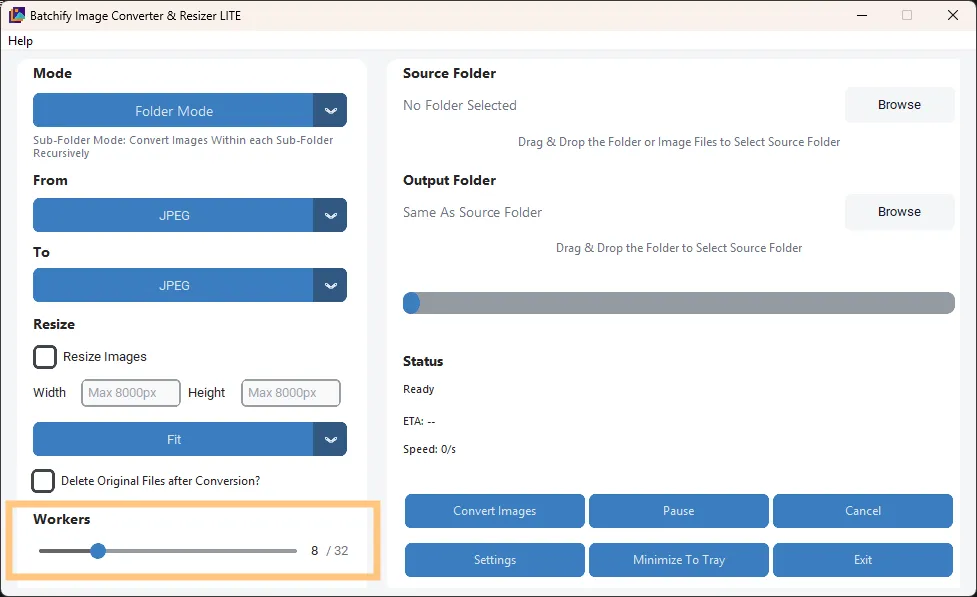
Step 6: Adjust Worker Thread Speed
Batchify allows you to control how many CPU threads are used during conversion.
Increase workers for maximum speed on powerful systems
Reduce workers to keep the system responsive
Auto-scale support ensures safe CPU usage
This flexibility is useful when running Batchify alongside other applications.
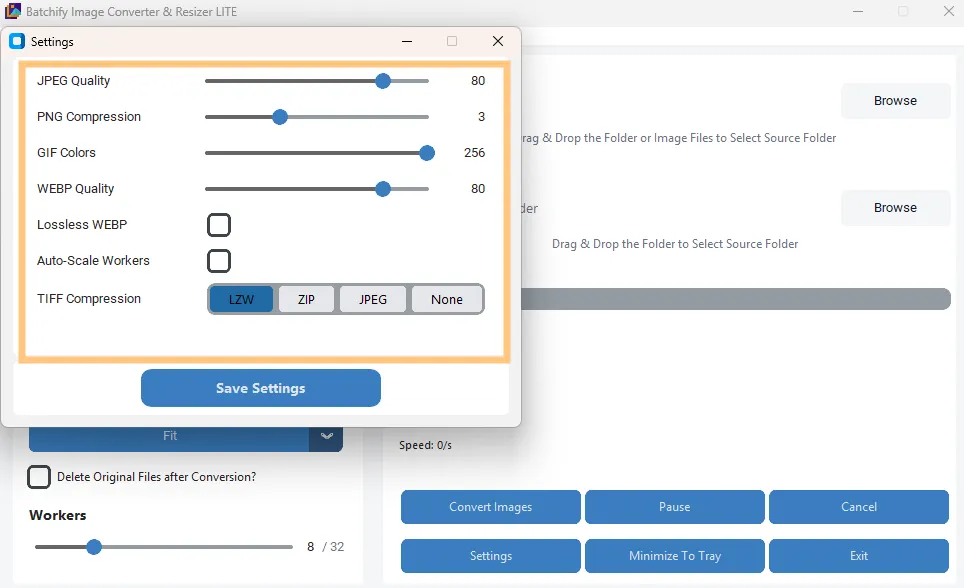
Step 7: Set Output Quality
Control the balance between image quality and file size.
Higher quality for print or archival use
Lower quality for web optimization and faster loading
Applies uniformly to all converted images
This ensures consistent results across the entire batch.
Step 8: Click Convert
Once everything is set:
Click the Convert button to start processing
Live progress and ETA are displayed in real time
Errors (if any) are logged without stopping the batch
You can safely let Batchify run in the background or unattended.

What Happens Next
Converted images are saved to the selected output location
Original folder structure is preserved (when applicable)
Any failed files are skipped and reported
Batchify ensures a smooth, predictable, and safe conversion experience from start to finish.