
Turbo Bulk Background Remover
for Windows
An AI Background Remover That Runs Entirely on Your PC
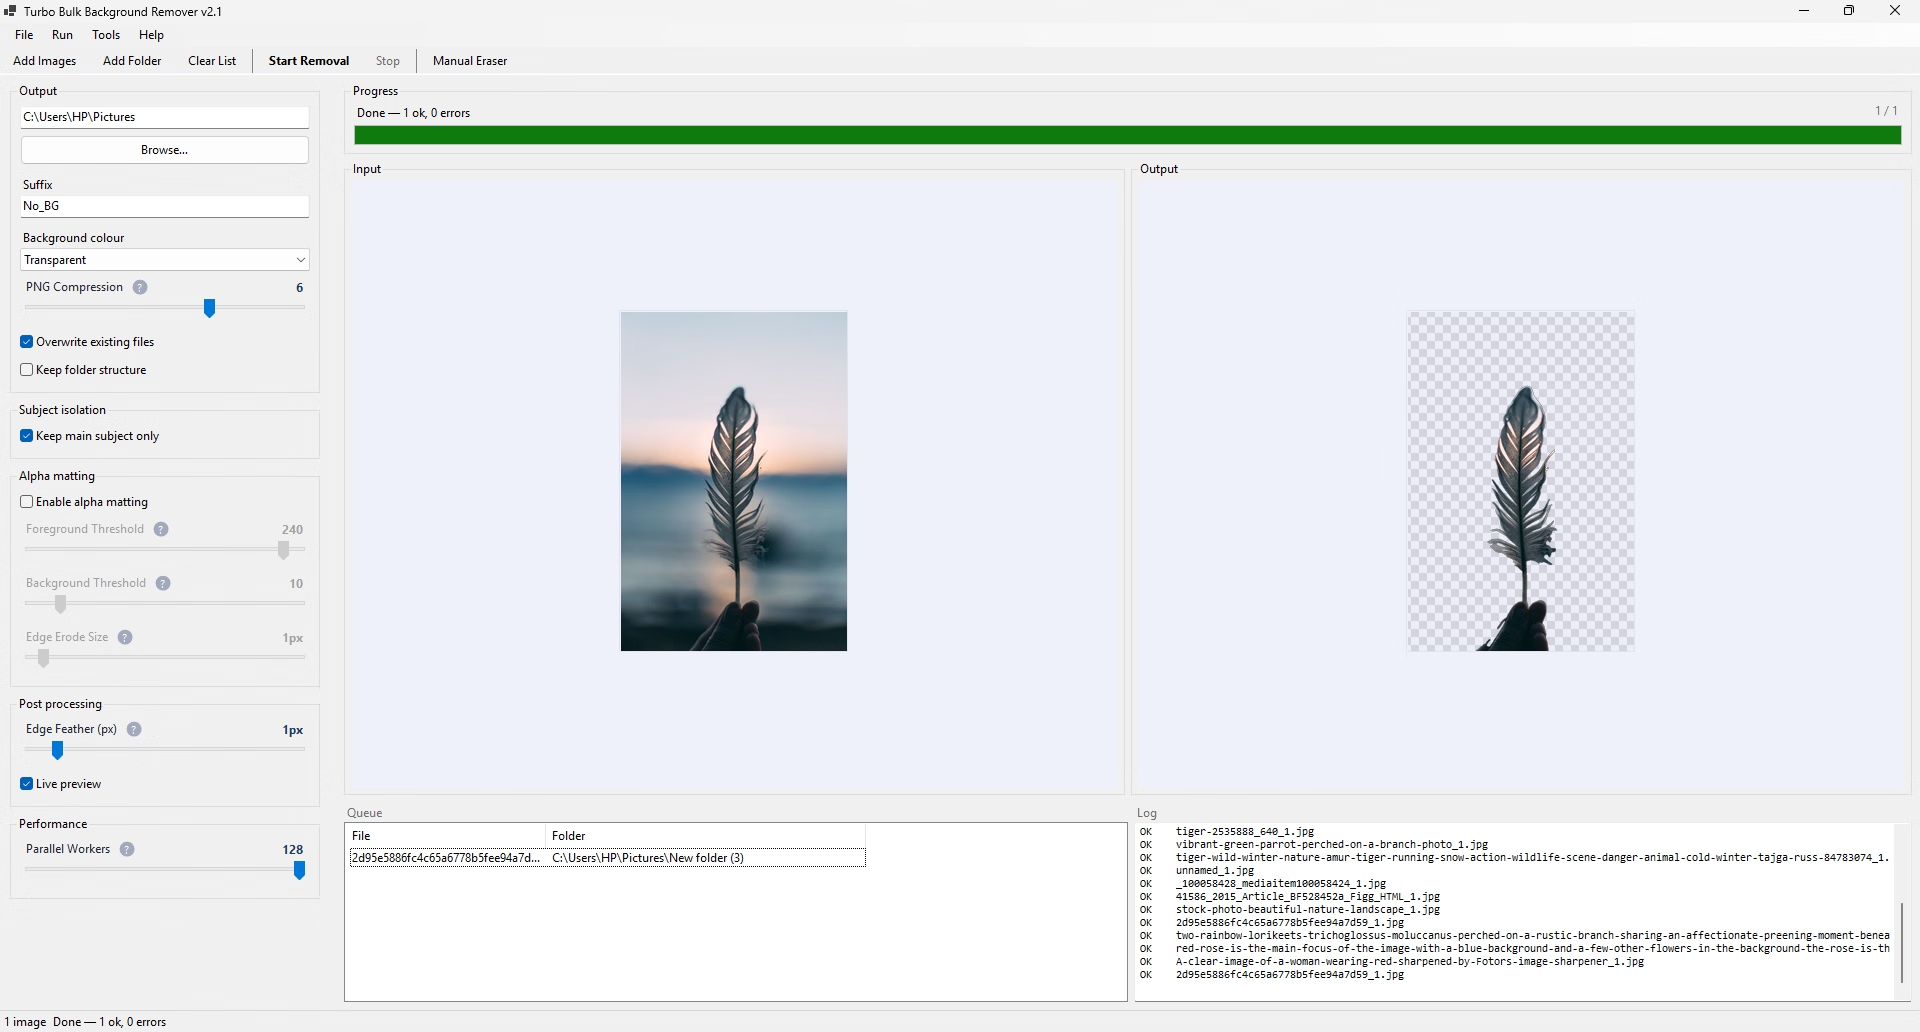
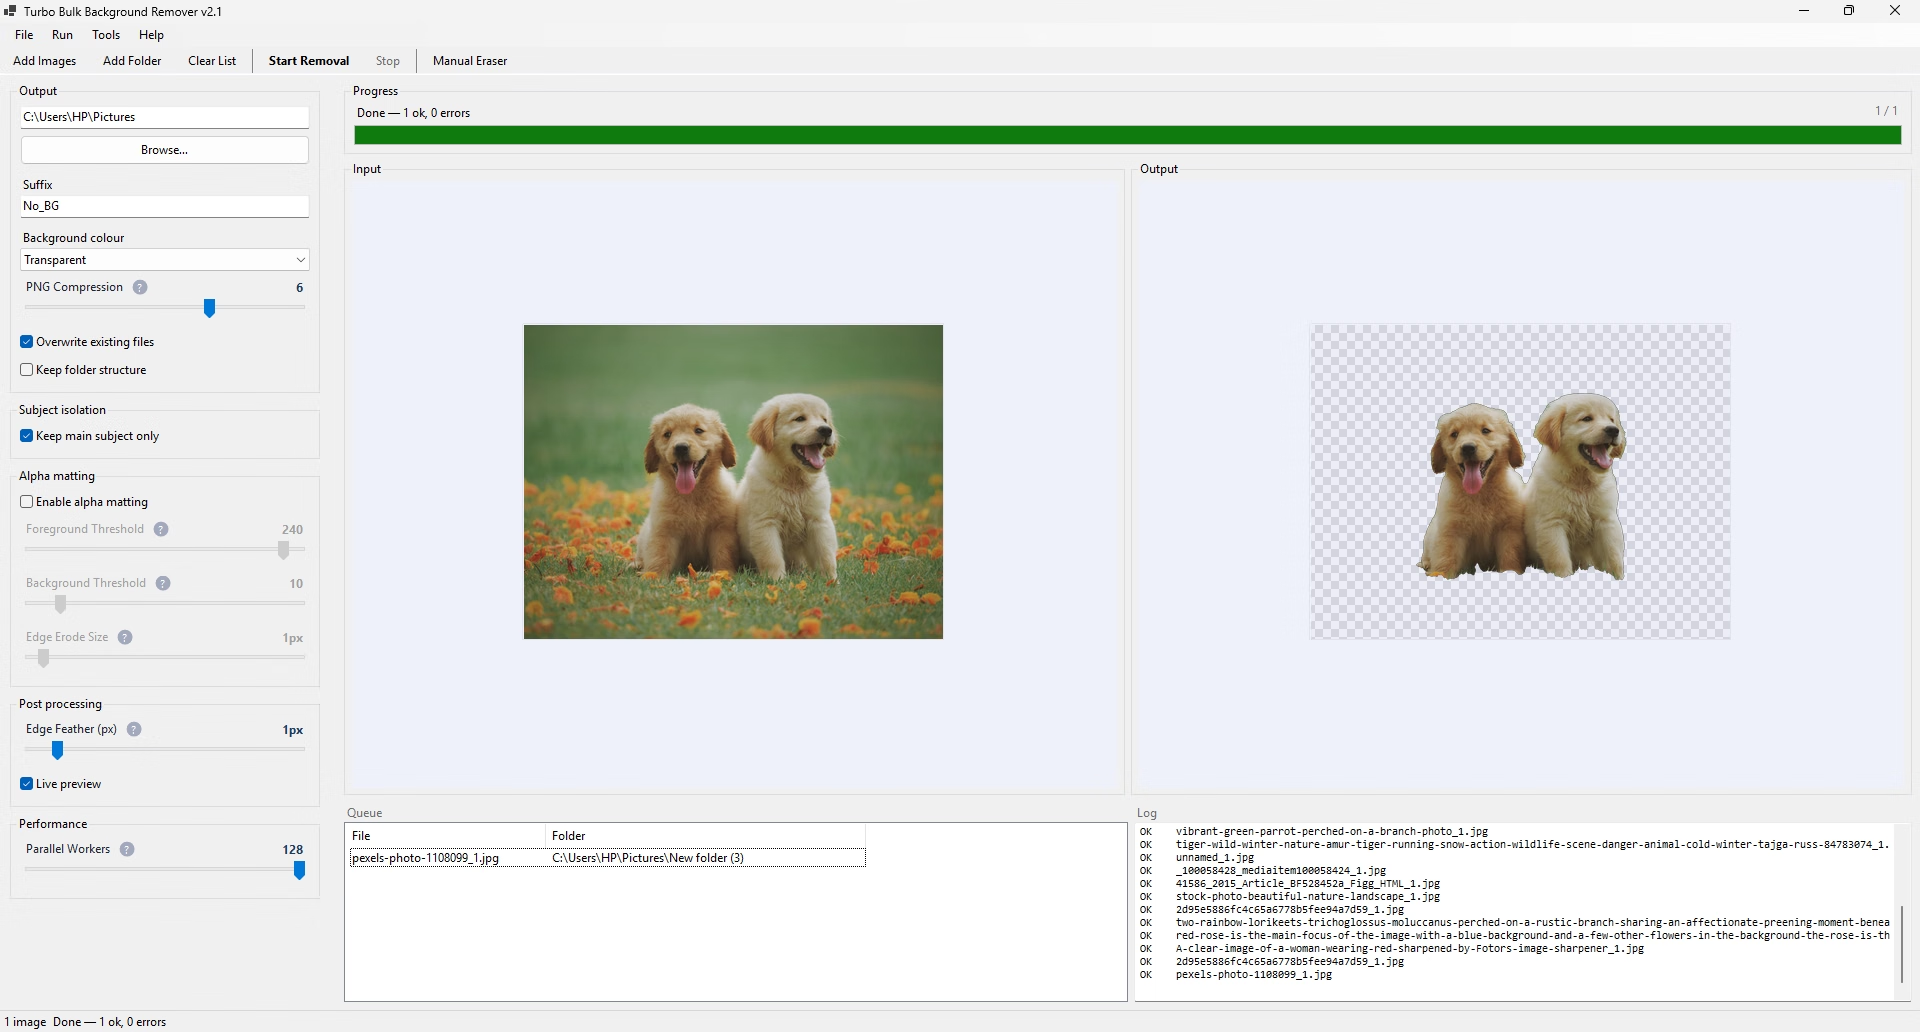
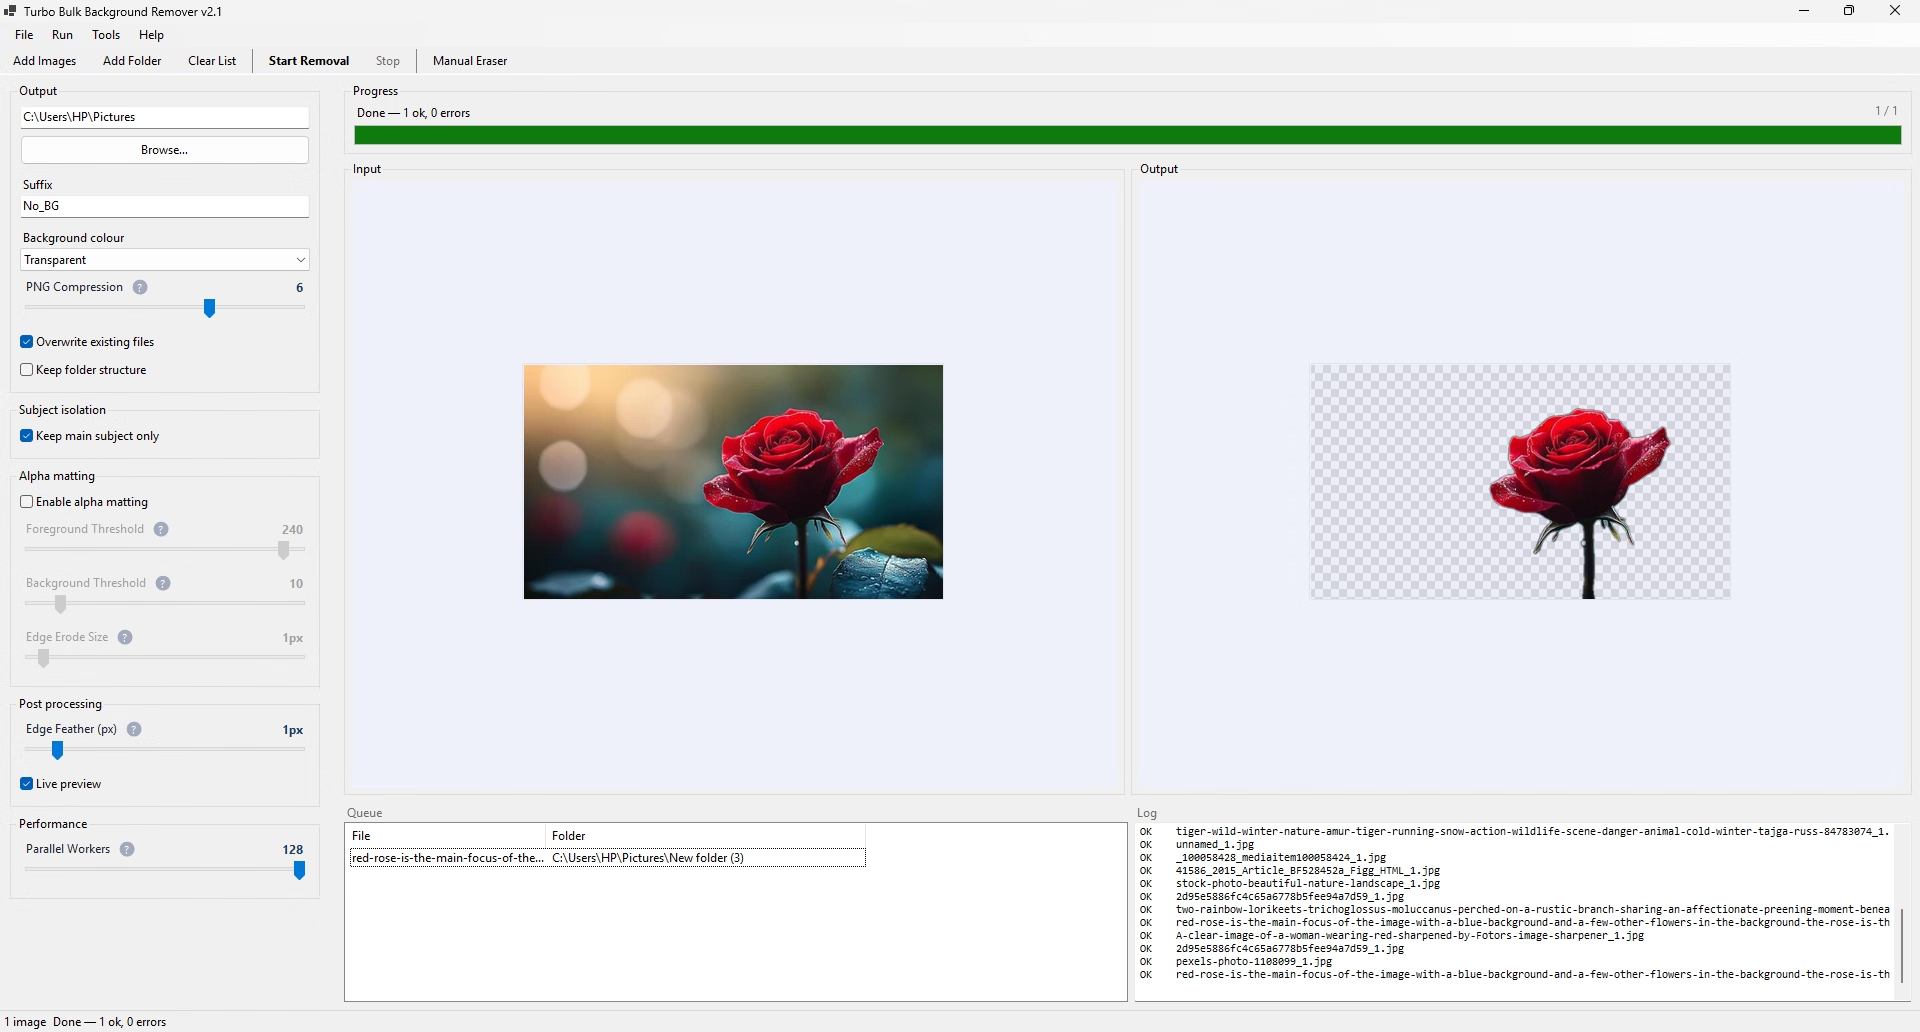
Turbo Bulk Background Remover is a Windows application that removes the background from photos in bulk, entirely offline. Add individual files or a whole folder tree, choose an output folder and press Start. Each image is saved as a transparent PNG, or with a solid colour behind the subject. Nothing is uploaded: the model, the matting solver, the compositing and the encoder all run on your own PC, and the app reads straight from your disk and writes straight back to it.
The engine is isnet-general-use, a general-purpose segmentation network run at 1024×1024 through ONNX Runtime, so one set of settings covers most subjects without choosing a mode. When a compatible GPU is present it runs on it through DirectML or CUDA, and when one is not, it falls back to the CPU automatically.
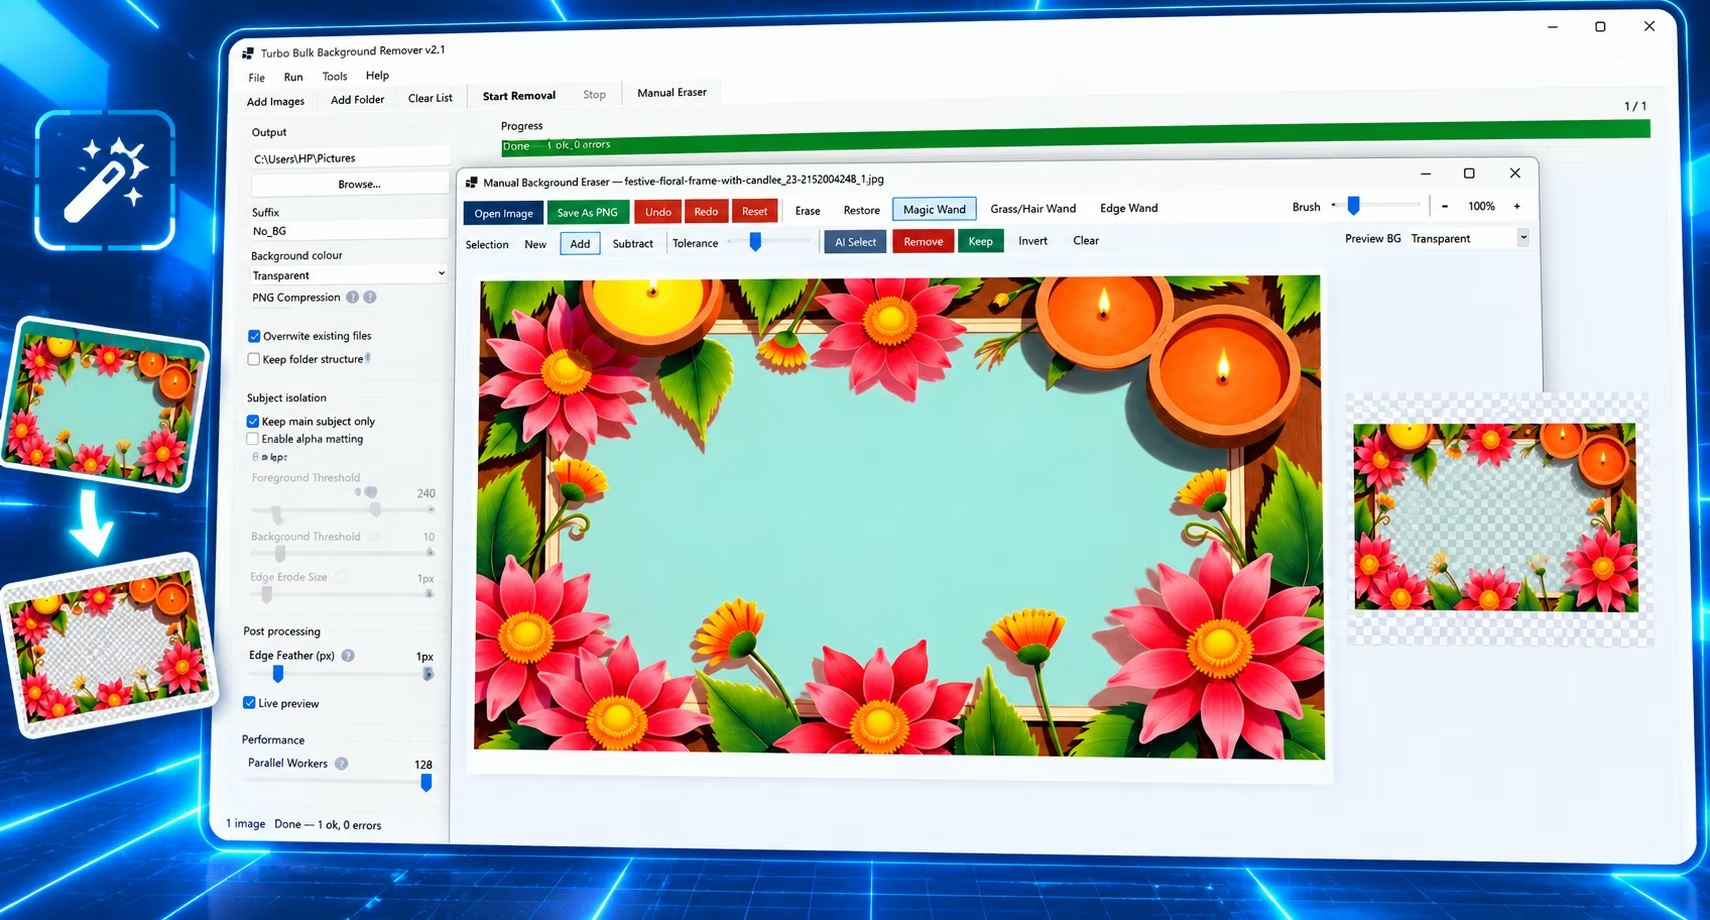
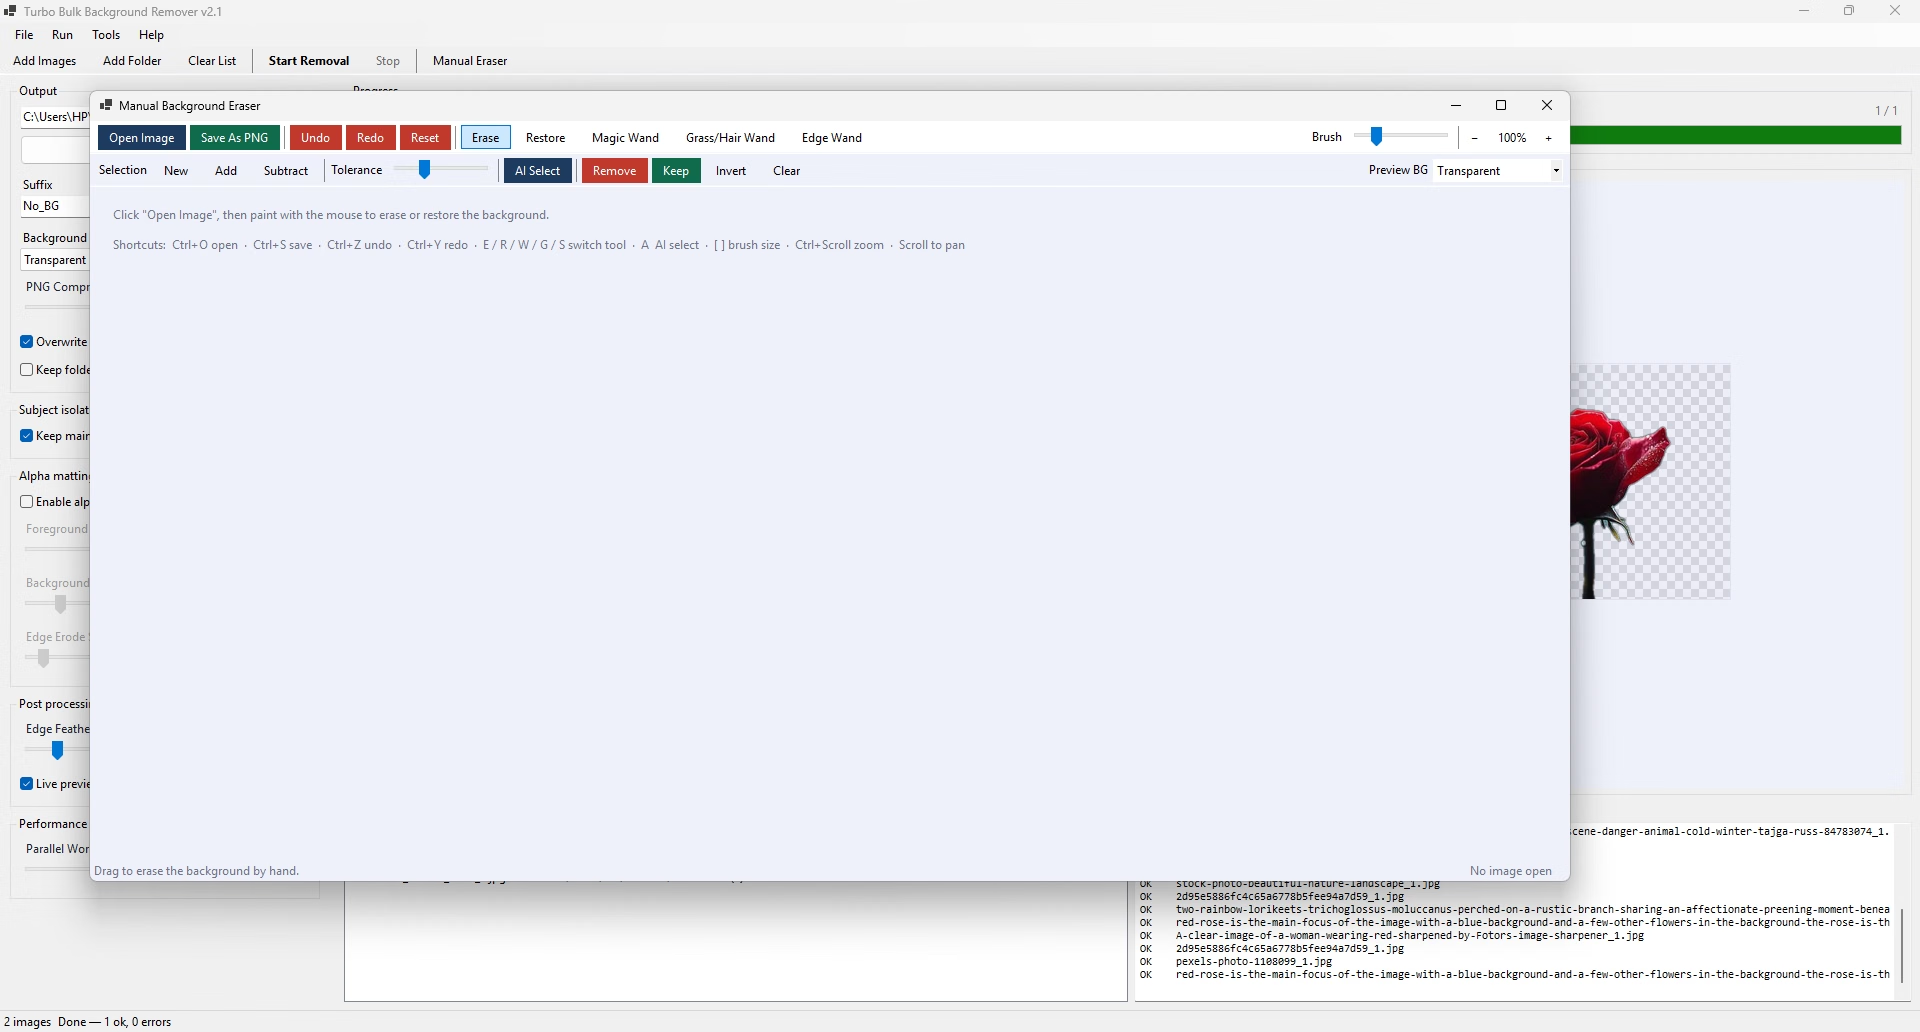
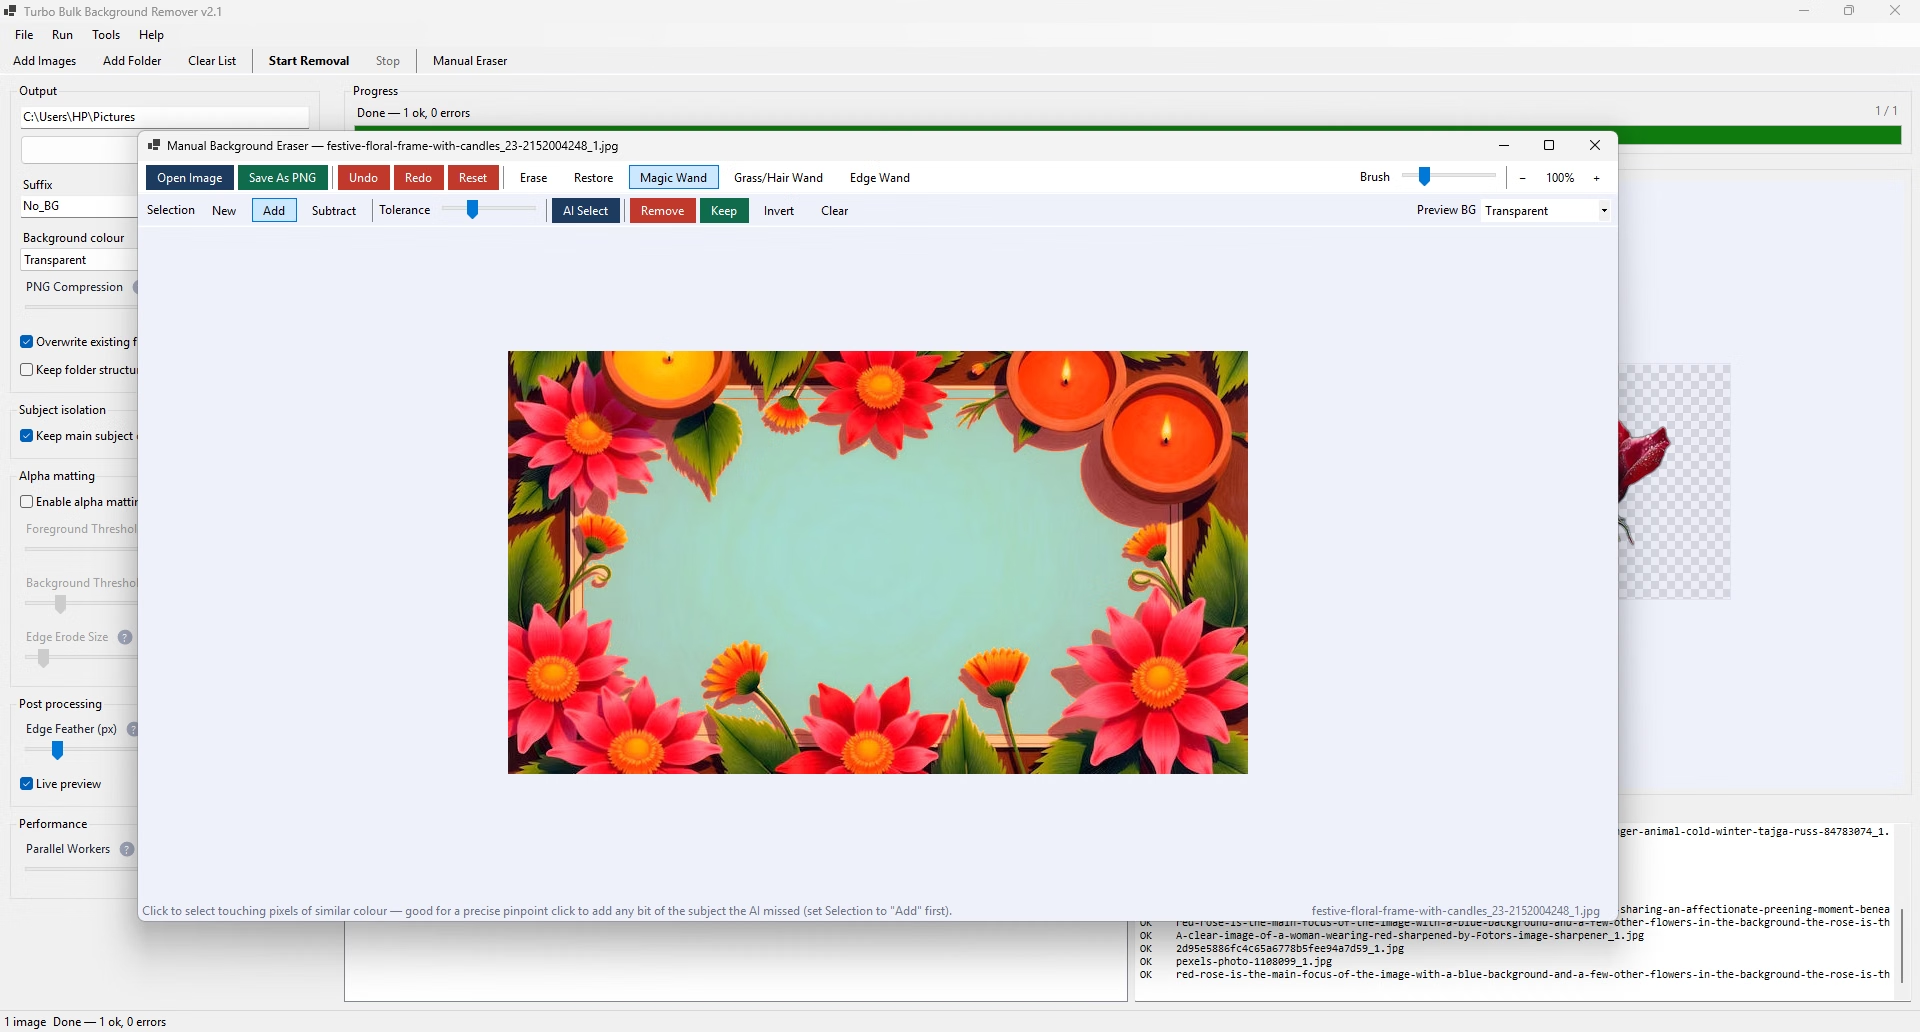
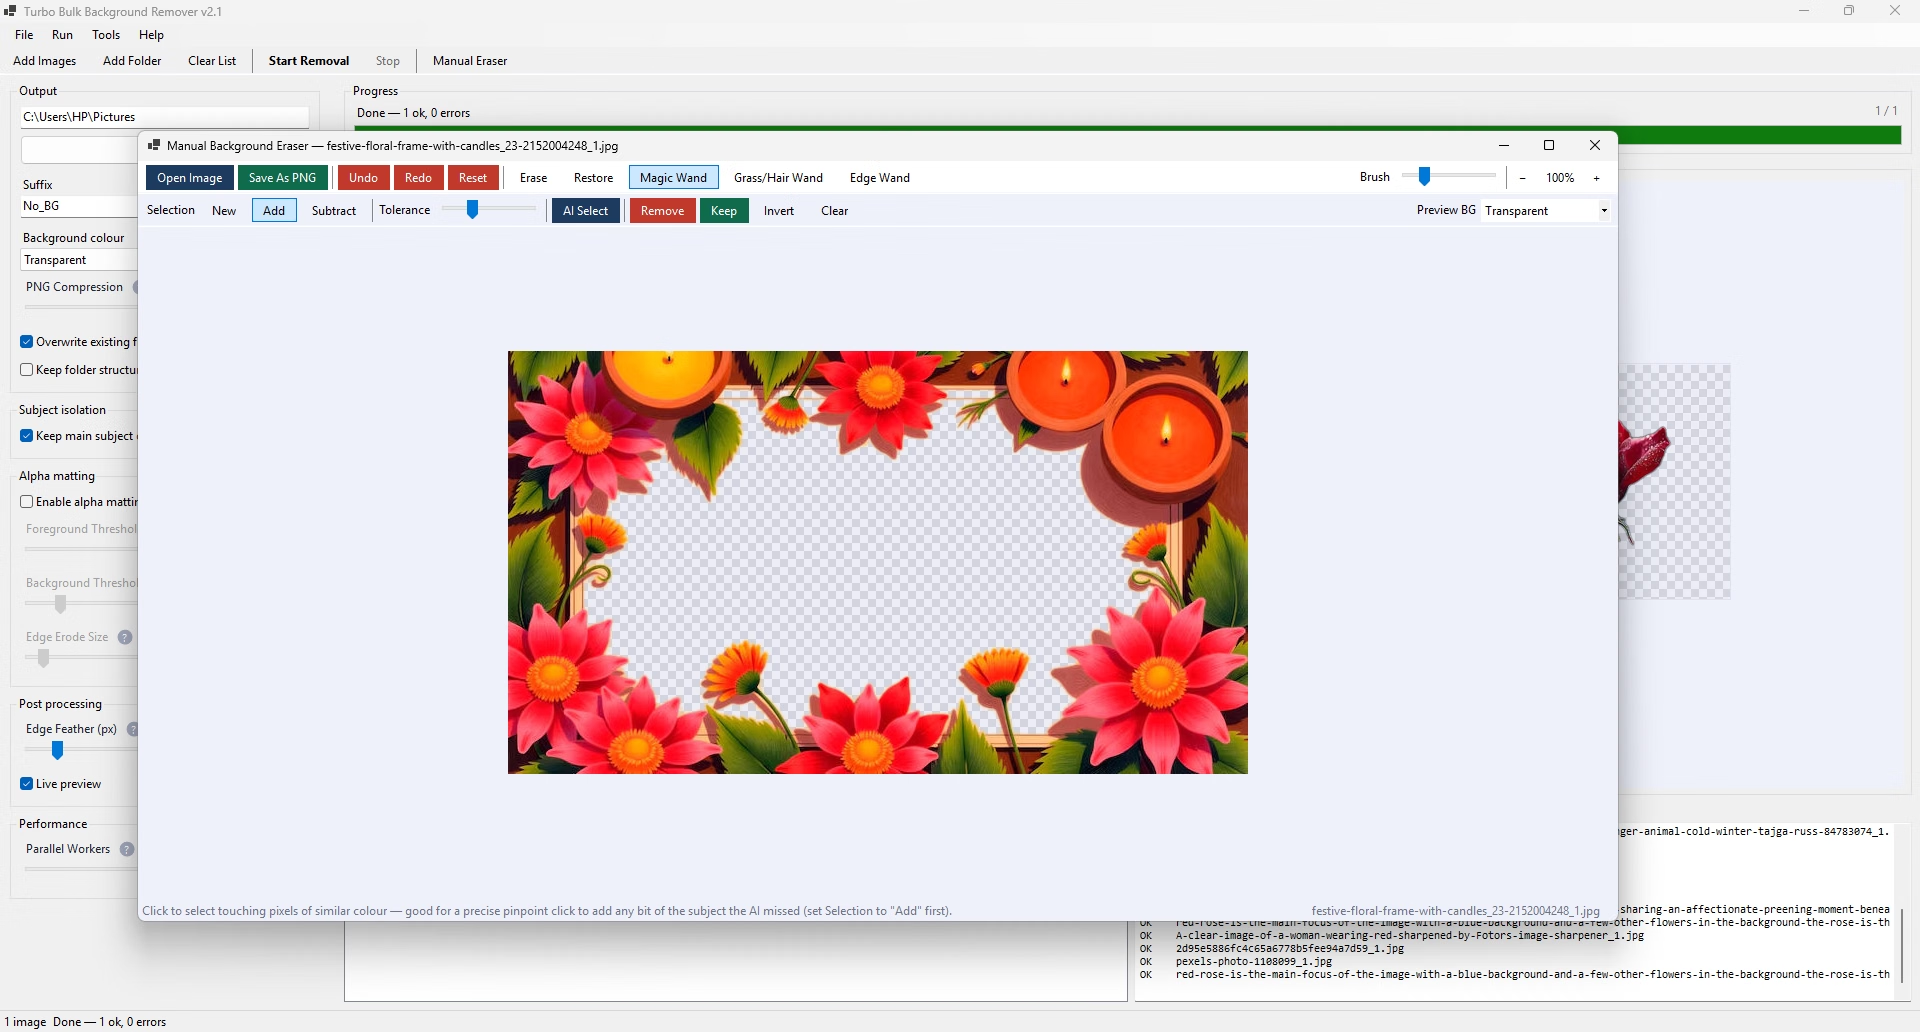
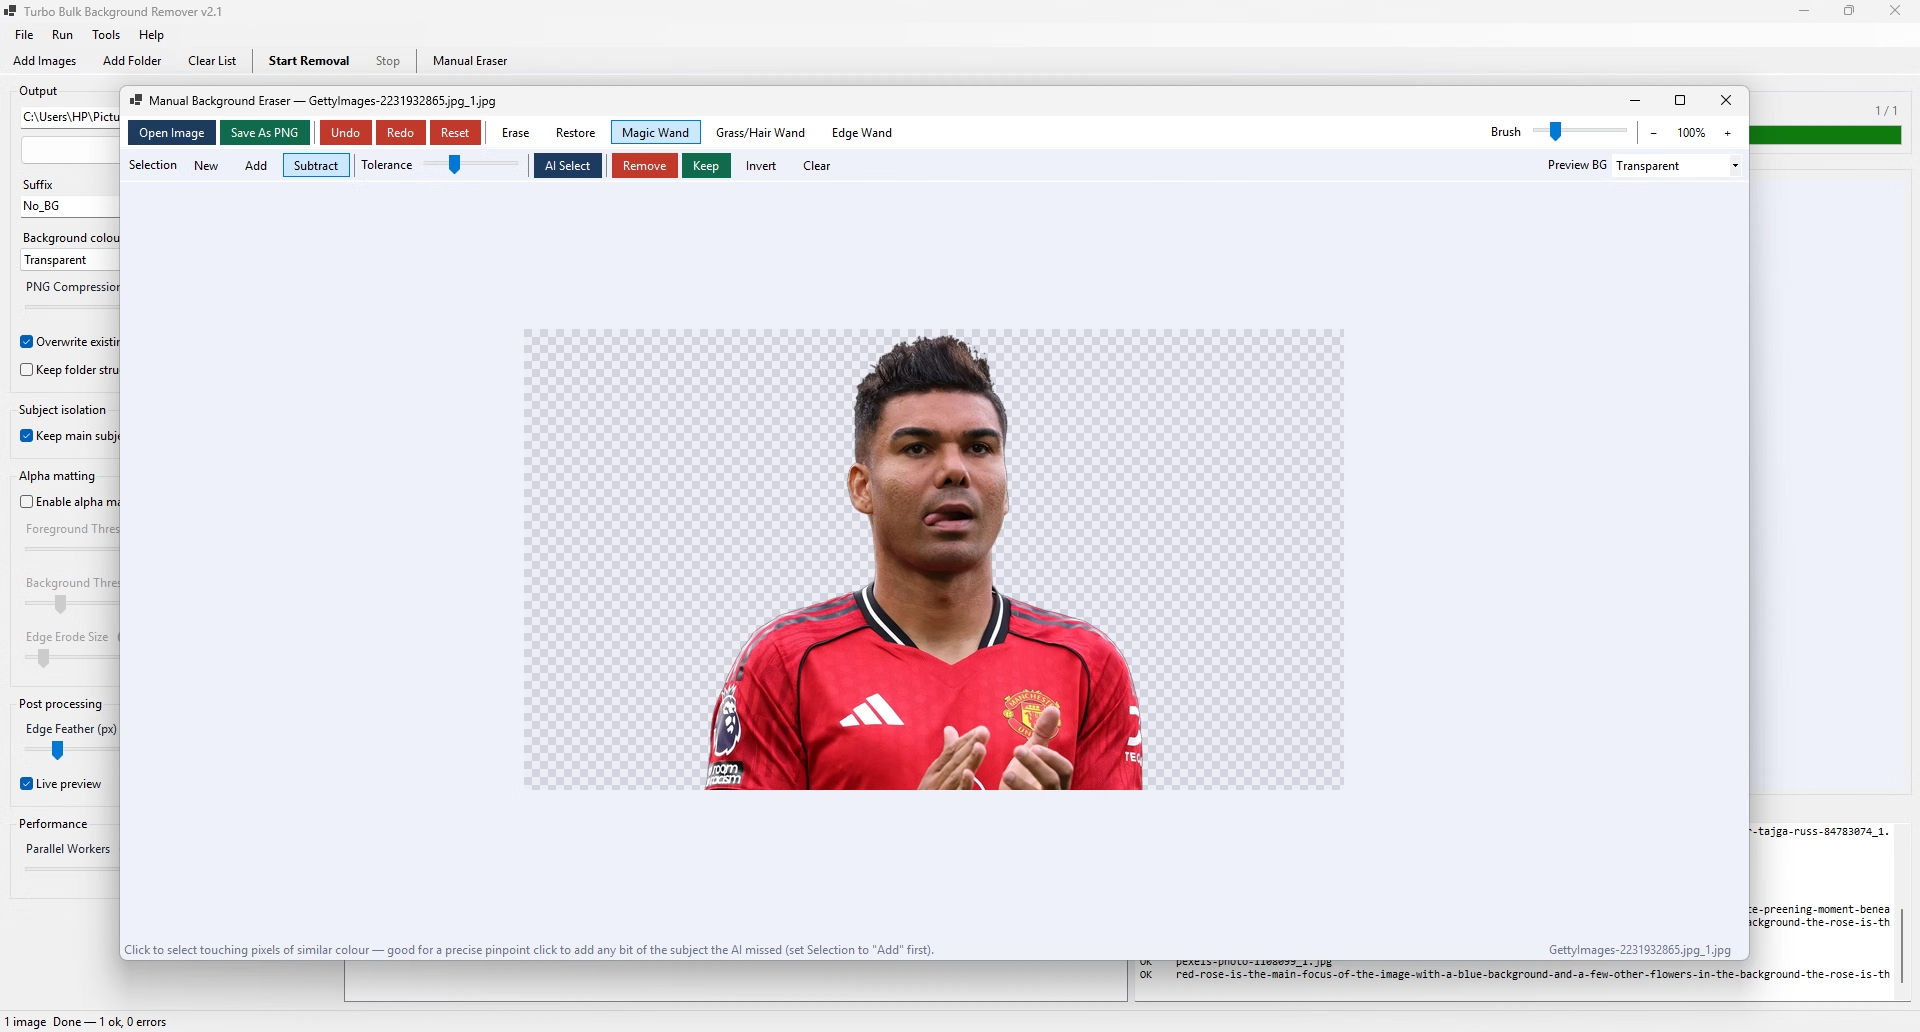
Automatic removal gets most photos finished in one pass. For the rest, the built-in Manual Background Eraser opens any single image on a checkerboard canvas with erase and restore brushes, three wand tools and one-click AI selection, so you can fix a chewed edge by hand instead of re-shooting. Both share one loaded model, so switching between them costs nothing.
Key Features
Bulk AI Background Removal
Queue individual files, or point the app at a folder and it walks every sub-folder for supported images. The queue holds file paths rather than decoded pictures, so tens of thousands of entries cost almost nothing in memory. Start it, walk away, and come back to a folder of finished PNGs.
Six Output Backgrounds
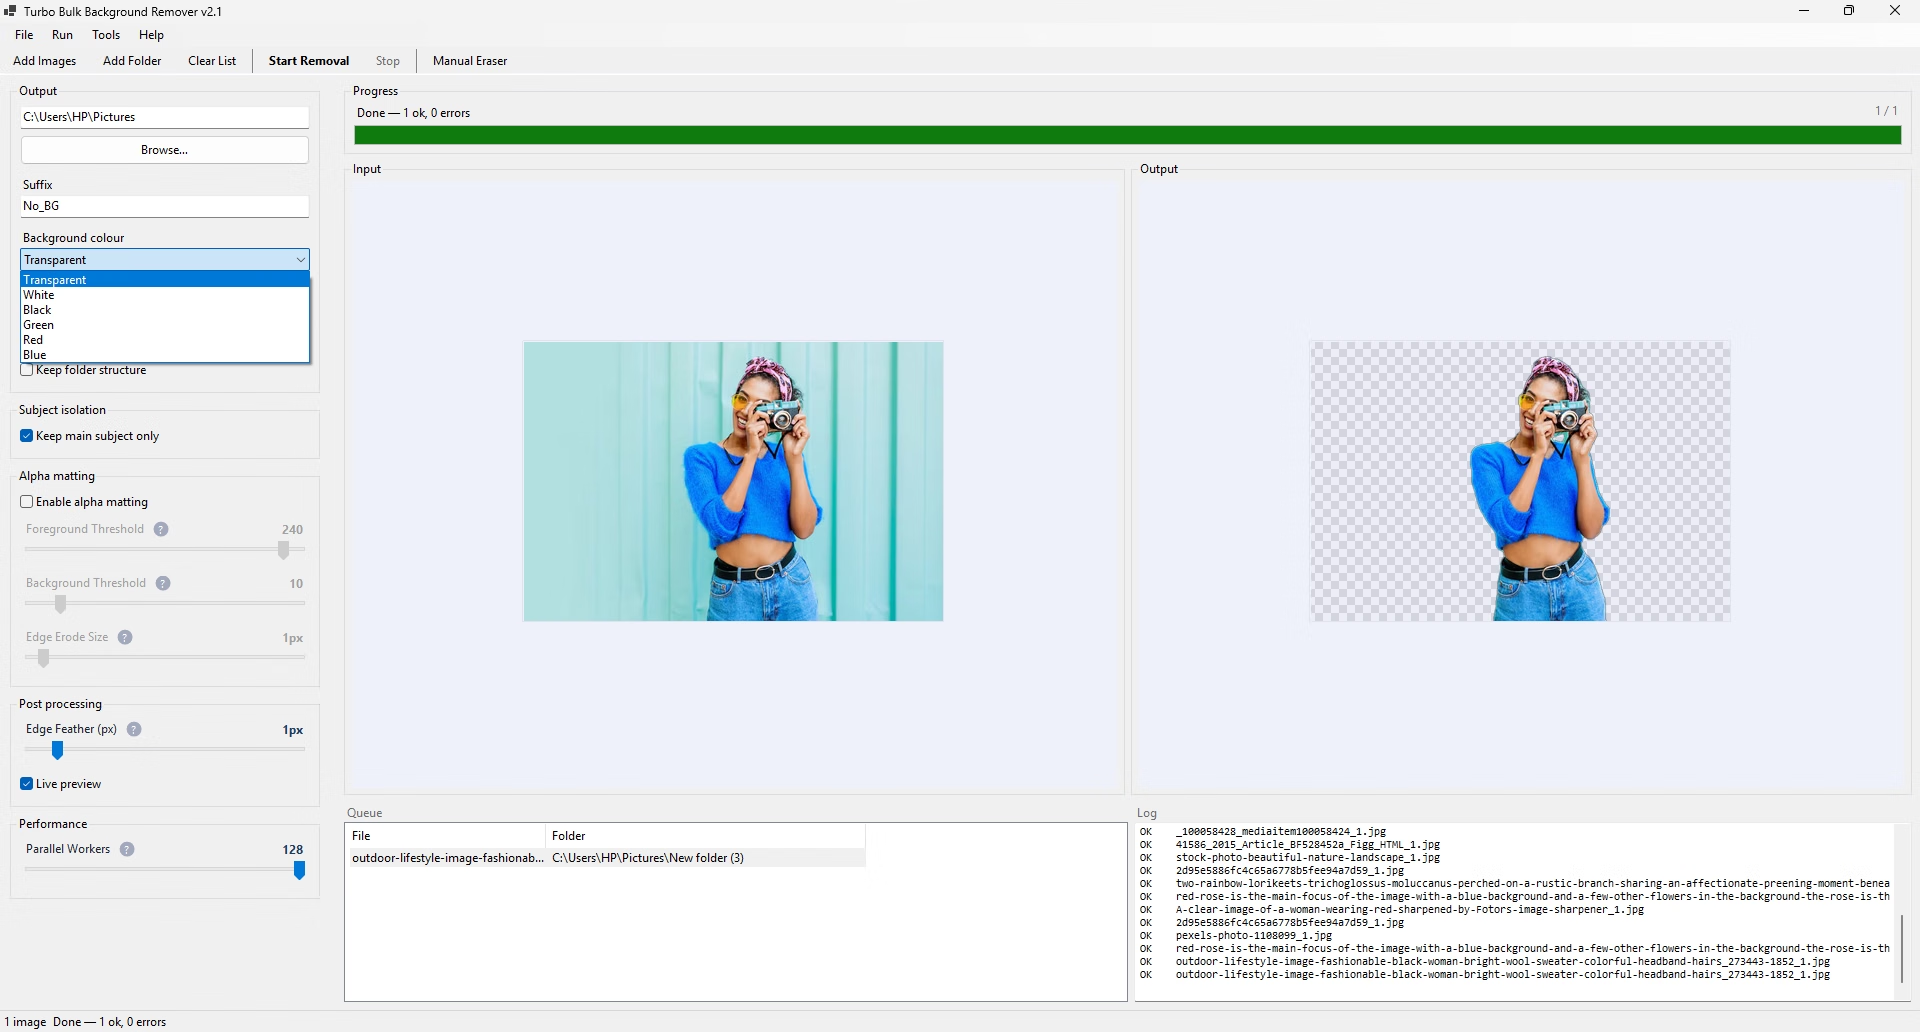
Keep a real alpha channel with Transparent, or composite White, Black, Green, Red or Blue behind every subject as it saves. The green is standard chroma-key green, so cut-outs can go straight into video editing software.
Alpha Matting for Hair and Fur
A closed-form matting solver recovers partial transparency along the edge so hair, fur, fine fabric and glass survive the cut. Foreground Threshold (1–255, default 240), Background Threshold (5–50, default 10) and Edge Erode Size (0–20 px, default 1) tune it. Off by default because it is much slower.
Keep Main Subject Only
Discards small disconnected patches of background that survive the mask, which is why most product cut-outs come out clean with no manual work. On by default; turn it off when a photo has several separate subjects you want to keep.
Edge Feather
A 0–10 px blur on the cut-out edge so the subject blends into whatever you composite it onto. One pixel is the default and suits most work; zero keeps the mask perfectly crisp.
PNG Compression
A 0–9 slider trading save speed against file size; the default is 6. Every output is PNG, the only widely supported format that carries real transparency.
Suffix and Folder Structure
Each output gets a filename suffix, No_BG by default, so photo.jpg becomes photoNo_BG.png. Tick Keep folder structure to recreate the source sub-folder layout in the output folder; if source and output are on different drives, the file is saved flat and the log says why.
Originals Are Never Modified
Source files are only read. With Overwrite existing files off, anything already in the output folder is skipped, and each skip is named in the log rather than counted as a success.
Live Preview, Progress and Log
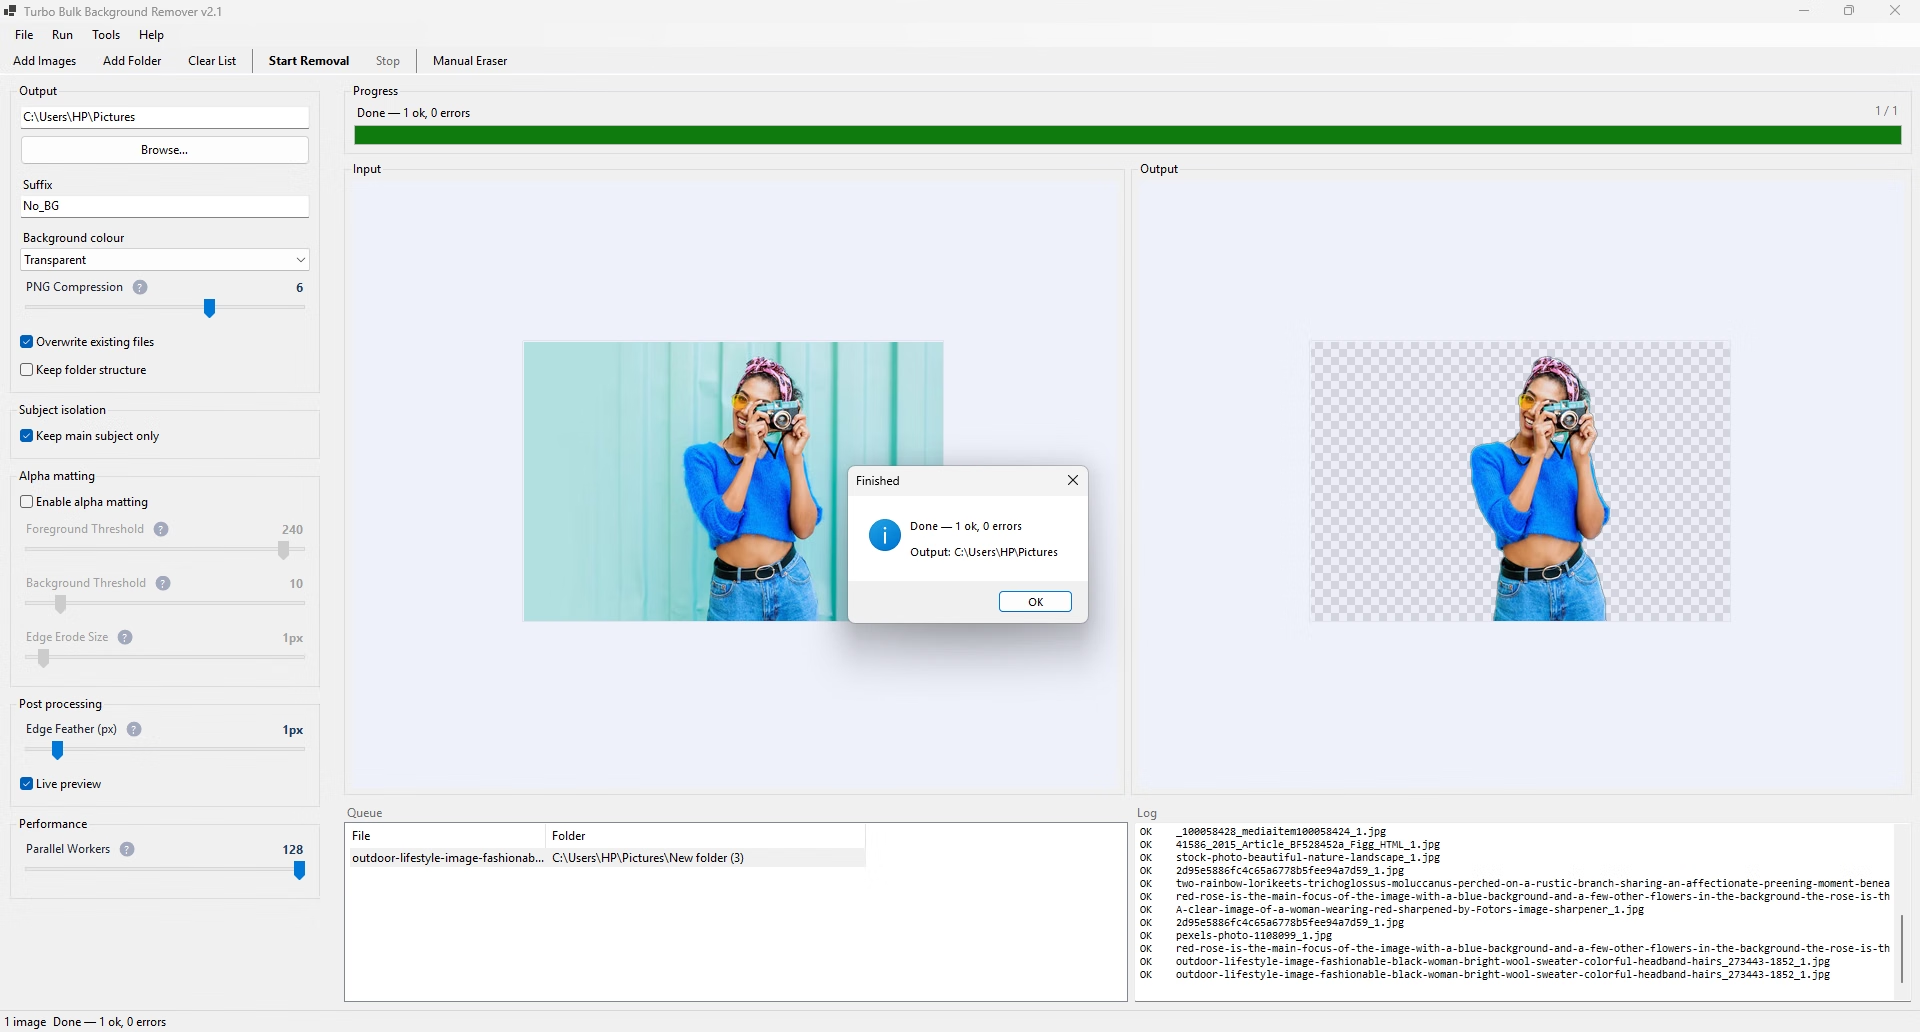
Before and after cards update as the batch runs, drawn over a checkerboard, alongside a progress bar, a done/total readout and an ok/errors tally. A log capped at 1,000 lines records every skip, fallback and failure with its reason. Switch the preview off for the fastest unattended runs.
Drag and Drop, Sortable Queue
Drop files or folders anywhere on the window to queue them, or drop a folder onto the output box to set the destination. The queue is sortable, with a right-click menu to remove selections or open the containing folder.
Settings Snapshot
Every setting is frozen the moment you press Start Removal, so moving a slider mid-run cannot change a batch in progress. The change applies to the next run.
Mixed Input Formats
Opens PNG, JPG, JPEG, WEBP, BMP, TIFF and TIF, mixed freely in one queue, and saves PNG. Need JPG, WEBP or AVIF afterwards? Run the output folder through Turbo Batch Image Converter Pro.
Manual Background Eraser
Some photographs defeat any automatic background remover: a subject the same colour as its backdrop, a reflective metal surface, a wire-frame chair. The eraser is a second window built for manual work, with a checkerboard canvas so transparency is obvious at a glance.
AI Select
Runs the same neural network on the open image and selects the whole main subject in one click. Images that already carry transparency are composited onto white first, which is what the model expects.
Erase and Restore Brushes
Paint to make pixels transparent, or paint them back to full opacity. Diameter runs from 5 to 150 px. Overshoot an edge and Restore paints the subject back, so aggressive erasing is safe.
Magic Wand
Flood-fills a region by colour similarity, with a 0–100 Tolerance slider. The right tool for flat, evenly lit backdrops such as studio sweeps, scanned documents and screenshots.
Grass / Hair Wand
Samples a patch around your click in hue, saturation and value space and selects every pixel within a tolerance-scaled statistical distance of it, so it holds individual strands of hair, fur and grass that a flood fill misses or over-selects.
Edge Wand
Click near a rough boundary and it selects the strongest edge band within a radius set by your brush size, snapping to the real edge so you can clean a silhouette click by click instead of tracing it.
Pending Selections
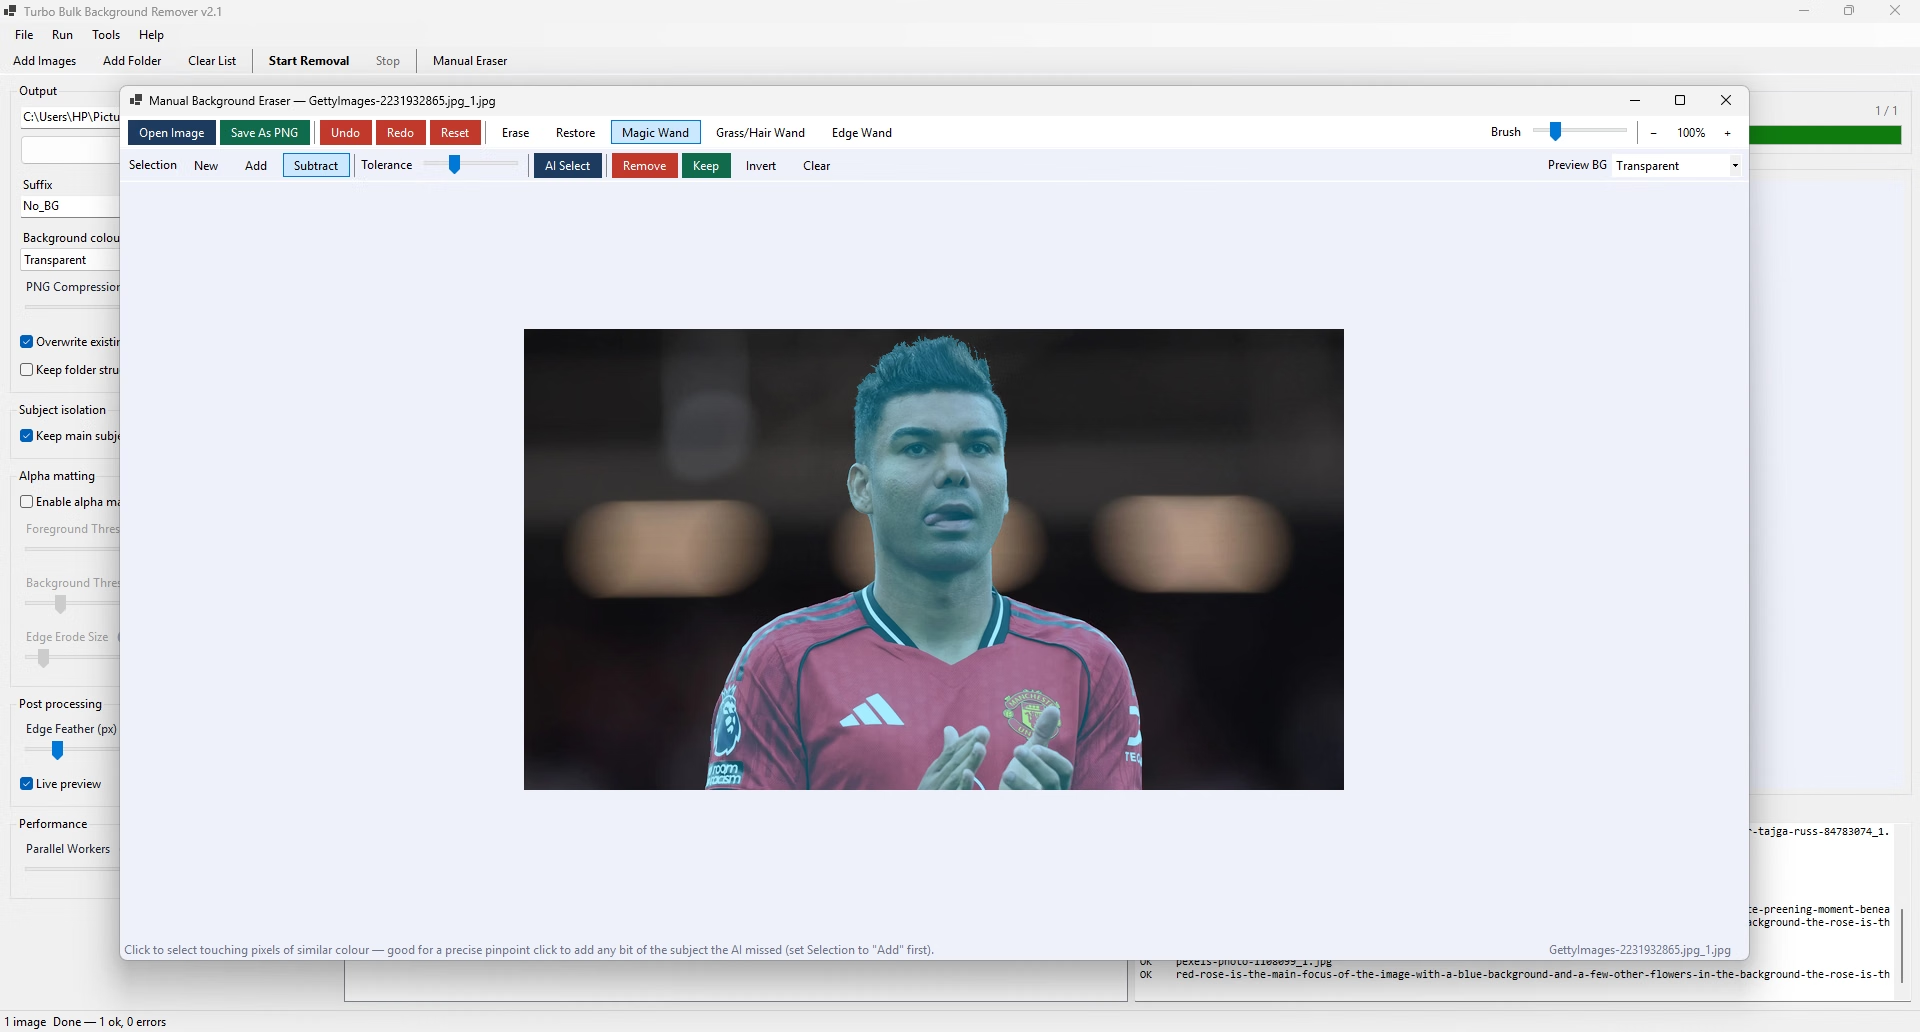
Wand clicks and AI Select build a pending selection rather than changing the image. New replaces it, Add grows it and Subtract cuts away from it. Commit with Remove (erase the selection) or Keep (erase everything else); Invert flips it, and Clear or Esc discards it.
Undo, Redo and Save
Fifteen levels of undo and redo cover every stroke and commit, and Reset returns the alpha channel to the original image. Ctrl+S saves a PNG with its alpha channel intact; your original file is never touched.
Preview, Zoom and Pan
Preview against Transparent, White, Black or Gray to judge edge quality; it changes only what is drawn on screen, never what is saved. Ctrl+Wheel zooms and the wheel pans, with edits always applied at full source resolution.
How to Remove Background from Image Files
1. Add your images
Press Add Images (Ctrl+O) to pick files, or Add Folder (Ctrl+Shift+O) to queue every supported image in a folder and its sub-folders. Dragging files or folders onto the window does the same.
2. Choose where the results go
Click Browse under Output, or drop a folder onto the path box. Change the Suffix if you want something other than No_BG, and tick Keep folder structure to mirror a folder tree instead of flattening it.
3. Pick your background
Leave Background colour on Transparent for a real alpha channel, the right choice for web, print and compositing. Choose White for marketplace listings that require it, or Green for video editing.
4. Tune the edges only if you need to
The defaults suit most photos. Leave Keep main subject only on and raise Edge Feather a pixel or two for softer composites. Turn on Alpha matting only for hair, fur or glass, and test it on one image first, because it is much slower and can misbehave on reflective subjects.
5. Start the batch
Press Start Removal (Ctrl+Enter) and watch the progress bar, done/total readout and log; the window stays responsive. Press Esc to stop after the images already in progress finish.
6. Refine anything that came out wrong
Open a problem image in the Manual Background Eraser, press A for AI Select to get most of the way there, then clean up with the brushes or wands and save it as a transparent PNG. On a typical batch that is a handful of images out of hundreds.
Performance and Reliability
The model step dominates a batch, so a GPU matters most. DirectML covers essentially any modern Windows GPU (AMD, Intel or NVIDIA) and CUDA is used on NVIDIA cards. The app detects a provider at startup, falls back to the CPU silently if none is usable, and Help ▸ About shows which is live. GPU execution is typically five to fifteen times faster on the model step.
The model is loaded once and shared by every worker. Inference runs one image at a time, because ONNX Runtime already spreads a single inference across every core, while reading, decoding, feathering and saving run in parallel around it. The Parallel Workers slider (1–128, default 128) therefore hides disk work behind inference; past roughly your core count, extra workers mostly queue. An in-flight memory governor caps decoded pixels at about a third of available RAM (between 512 MB and 4 GB), and workers past that budget wait rather than allocate, so a high setting is safe.
If a run feels slow, check three things in order: whether alpha matting is on (by far the biggest per-image cost, seconds to tens of seconds per file), whether PNG Compression is at 9, and whether About reports CPU rather than DirectML or CUDA.
Each image gets 120 seconds of actual processing time, measured from when a worker picks it up. Exceed it and the file is logged as failed and the batch moves on, so one corrupt or pathological image cannot stall a queue of thousands. Closing mid-batch asks for confirmation and cancels the workers cleanly.
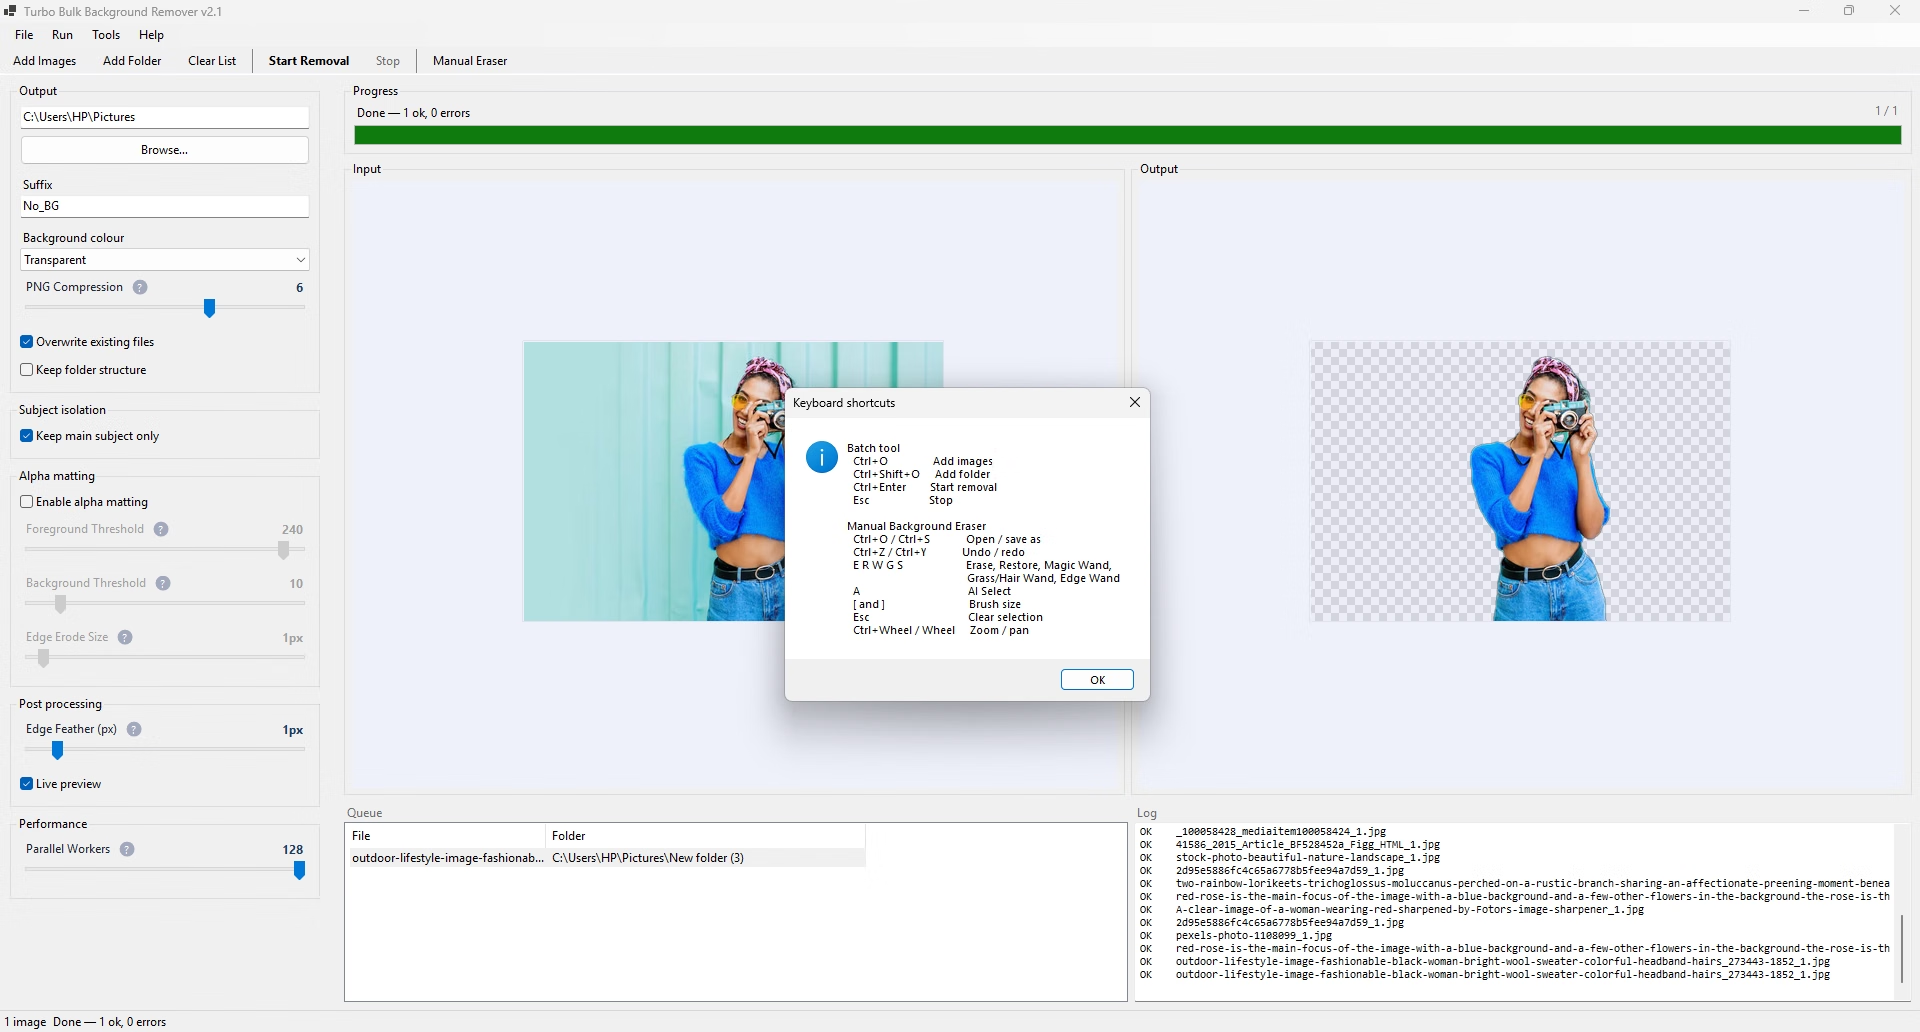
Keyboard Shortcuts
| Shortcut | Action |
|---|---|
| Ctrl+O / Ctrl+Shift+O | Add images / add a folder, including sub-folders (batch tool) |
| Ctrl+Enter | Start removal |
| Esc | Stop the batch after images already in progress; in the eraser, clear the pending selection |
| E / R | Erase brush / Restore brush |
| W / G / S | Magic Wand / Grass-Hair Wand / Edge Wand |
| A | AI Select, the one-click subject cut-out |
| [ / ] | Shrink / grow the brush |
| Ctrl+Z / Ctrl+Y | Undo / redo (15 steps each) |
| Ctrl+S | Save as transparent PNG |
| Ctrl+Wheel / Wheel | Zoom / pan the canvas |
Offline and Private
Every stage of processing — decoding, the neural network, alpha matting, feathering, compositing and encoding — happens inside the application on your own hardware. There is no upload step, because there is nothing to upload to. For client work under NDA, medical and legal photography, identity documents and unreleased product designs, that is a requirement rather than a preference.
- No image data is transmitted, logged, analysed, cached or stored outside your machine, and there is no telemetry, no analytics and no third-party SDK
- The only outbound requests are the licence check at launch, which carries no file names, image content or personal data beyond the licence itself, and the one-time AI model download
- Because the licence is verified at each launch, the app needs a connection to start; processing itself needs none
System Requirements and Licence
| Requirement | Minimum | Recommended |
|---|---|---|
| Operating system | Windows 10 (64-bit) | Windows 11 (64-bit) |
| Processor | 2 CPU cores | 4 or more CPU cores |
| Memory | 4 GB RAM | 8 GB or more; 16 GB for very large batches |
| Graphics | None required, runs on CPU | Any DirectML-capable GPU, or NVIDIA for CUDA |
| Storage | 800 MB free, including the AI model | 1.5 GB or more, on an SSD |
| Network | Needed for activation, the licence check at launch and the one-time model download | |
The app is licensed through Gumroad as a one-time purchase, activated per PC with the email address and licence key from your purchase. The key is cached locally and verified at each launch. Help ▸ License shows who the copy is licensed to and can release the licence from a PC so you can move it to another machine. Activations from the older Python version carry over.